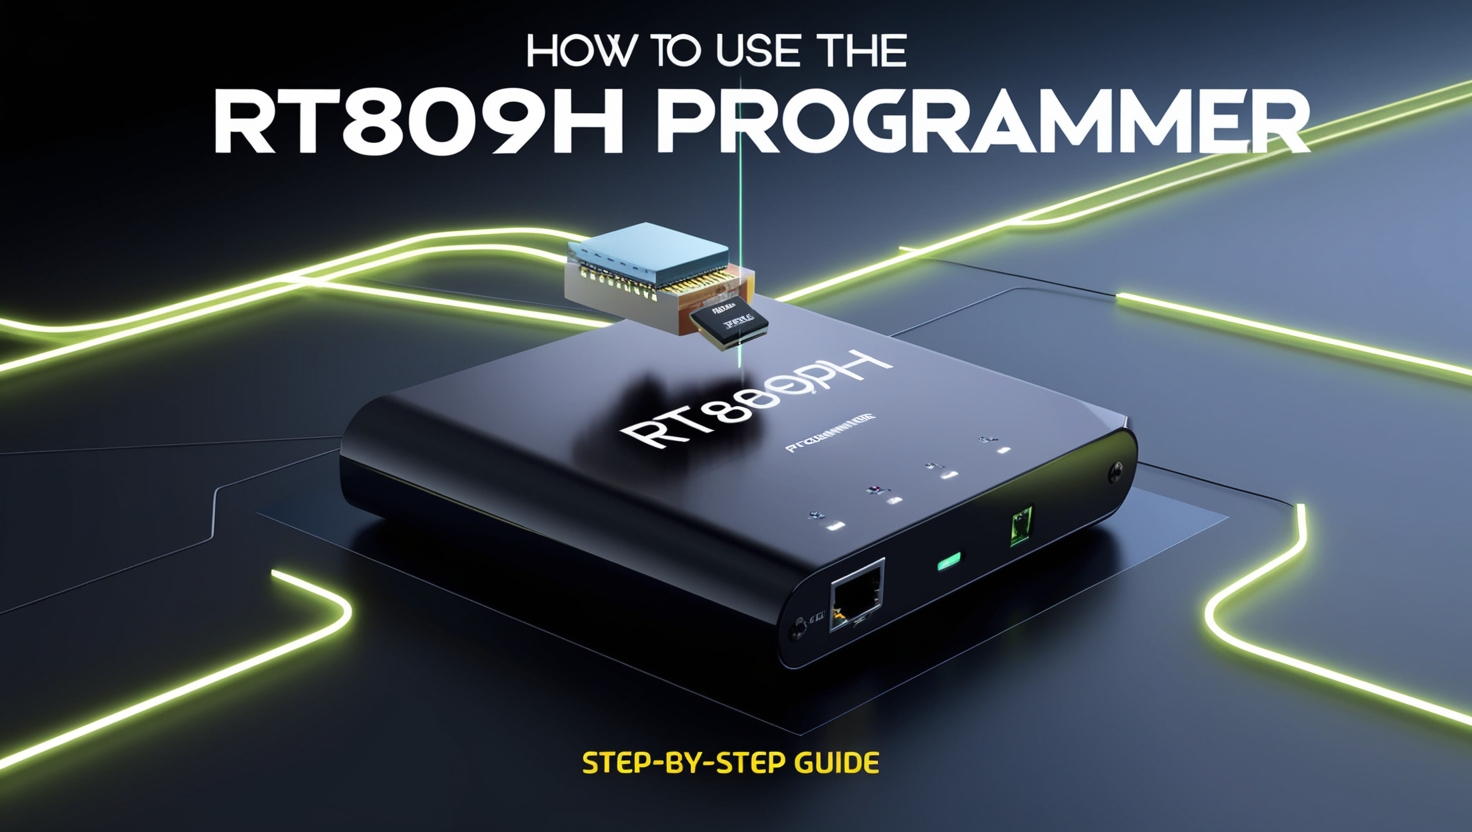
The RT809H programmer is a handy tool for anyone working with chip programming or data recovery. Whether you’re fixing smart TVs, car navigation systems, or computer motherboards, this device can read and write firmware on various chips. This guide will show you how to set it up and use it effectively. Written in clear, simple English, it’s designed to help beginners and pros alike. Let’s get started.
What Is the RT809H Programmer?
The RT809H is a versatile programmer that supports a wide range of chips, including SPI FLASH, EEPROM, NAND Flash, and more. It’s popular among technicians and hobbyists for tasks like repairing electronics or recovering data. With features like high-speed reading and in-system programming (ISP), it’s a reliable choice for many projects. This guide covers everything you need to know to use it properly.
What You’ll Need to Begin
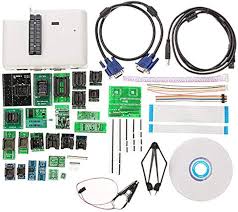
Before using the RT809H, gather these items:
- RT809H programmer
- USB cable (use the original one included)
- Computer with Windows XP, 7, 8, or 10
- At least 1GB of free disk space
- A USB 2.0 high-speed port
- Internet connection for software download
Your computer should have a Pentium IV processor or better. Check the box to ensure all parts, like adapters, are there when you unbox it.
Step 1: Install the Software
First, you need the right software to run the RT809H. Here’s how to install it:
- Visit our website to download the latest version, Click here: RT809H Programmer Software.
- Unzip the downloaded file to a folder on your computer.
- Double-click the setup icon to start.
- Pick your language (click “OK” if it defaults to Chinese).
- Follow the prompts: Click “Next” on steps 3, 5, and 6, “Agree” on step 4, and “Install” on step 8.
- Wait for the progress bar to finish, then click “Add” (step 10), “Uninstall” (step 11), and “OK” or “Cancel” (step 12).
The software is now ready. Keep your computer connected to the internet during this process for any updates.
Step 2: Set Up the Drivers
Next, connect the RT809H to your computer and install its drivers:
- Plug the programmer into a USB 2.0 port using the original cable.
- Your computer will detect new hardware and prompt you for drivers.
- Choose “Browse my computer for driver software.”
- Set the path to “D:\809H\DRIVER” (or wherever you unzipped the software).
- Click “Next” to install the drivers.
Once done, open the software. You’ll see a serial number, which you can use for technical support or warranty claims. The warranty lasts 1 year, or 15 months from the serial number if you don’t have a purchase date. It doesn’t cover damage from misuse or natural disasters.
Step 3: Perform Basic Operations
With the software and drivers ready, you can start using the RT809H. Here’s how to handle basic tasks like reading and writing chips:
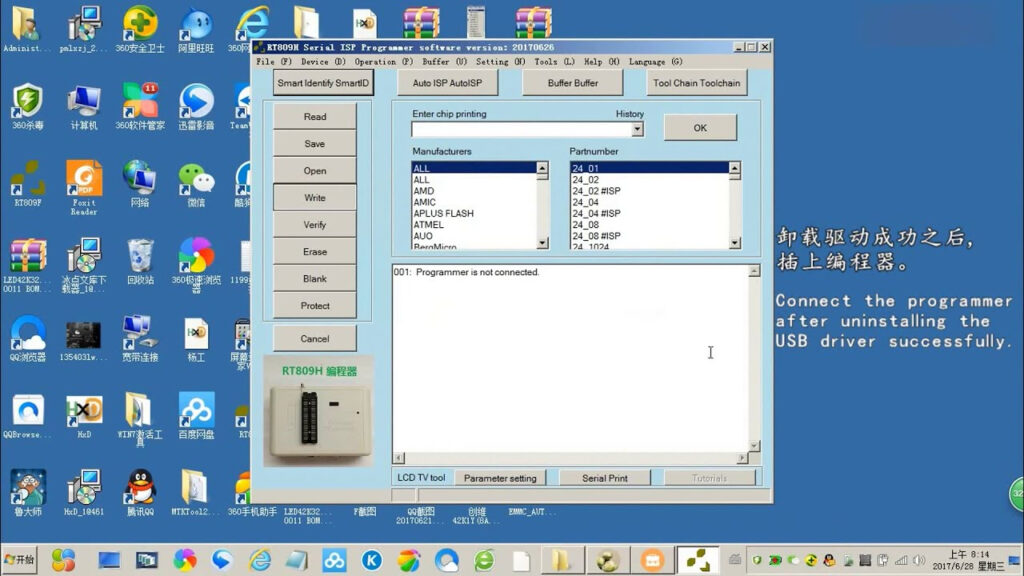
- Open the software on your computer.
- Type the chip model into the “Enter Chip Printing” field (e.g., 24XX, 25XX, 93XX, or EMMC).
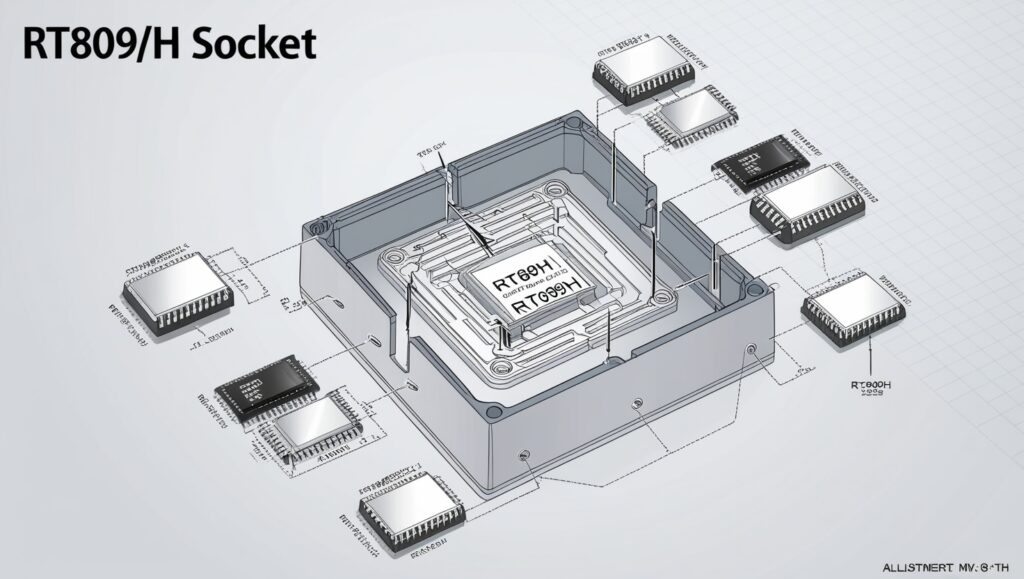
- Place the chip into the programmer’s socket. For some chips, like 93XX, align the 1st pin to the lower left.
- To read data, click “Read.” To write, load your data file and click “Write.”
- Use “Verify” to check your work, or “Erase” to clear the chip.
Always double-check the chip’s position to avoid errors. The software detects many chip types automatically, making this step easier.
Step 4: Try ISP Programming
For chips still attached to a circuit board, use ISP (in-system programming):
- Connect the RT809H to the board via the VGA ISP port with the original VGA cable.
- In the software, set the baud rate (try 9600, 19200, 38400, or 115200 if you see garbled text).
- Open the serial port in the software.
- Power on the board within 2 seconds of opening the port.
- Look for the chip’s printing message to confirm the connection.
ISP is great for programming without removing chips, saving time on repairs like TV firmware updates.
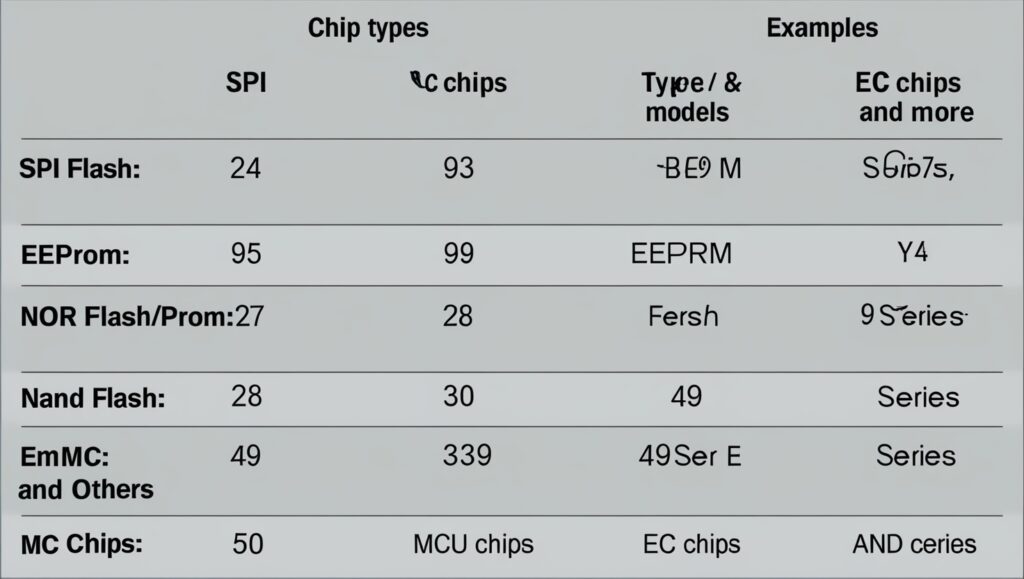
Which Chips Does It Support?
The RT809H works with many chip types. Here’s a quick list:
- SPI FLASH: 24, 25, 93, 95 series
- EEPROM: Various models
- NOR FLASH/PROM: 26, 27, 28, 29, 30, 39, 49, 50 series
- NAND Flash: EMMC and others
- MCU Chips: EC chips and more
It’s used in devices like LCD/LED TVs, smartphones, car navigation systems, and computer motherboards. Check your chip’s datasheet to confirm compatibility.
Troubleshooting Common Problems
If something goes wrong, try these fixes:
- Connection Issues: Use a USB 2.0 port and ensure a steady 5V power supply. Clean any dirty contacts.
- Driver Not Detected: Reinstall drivers or try a different USB port.
- EMMC Errors: If 8BIT mode fails, switch to EMMC_AUTO_4BIT in the software.
- Still Stuck? Contact support at this forum or call +86 13600024226.
Most issues come from loose connections or outdated software. Keep everything up to date as of April 8, 2025, to avoid problems.
Extra Features to Know
The RT809H has some advanced options:
- High-Speed Programming: Reads and writes large chips quickly.
- Multiple Chips: Program several chips at once with the right setup.
- Offline Mode: Works without a computer for some EEPROM and SPI FLASH tasks.
These features make it a solid tool for bigger projects or professional use.
Why Use the RT809H?
This programmer stands out for its wide chip support and ease of use. It’s affordable, reliable, and handles both simple and complex tasks. Whether you’re a hobbyist fixing a TV or a technician repairing a car system, it gets the job done. Plus, its software updates keep it current, ensuring long-term value.
Tips for Success
Here are some quick pointers:
- Always use the original USB and VGA cables for best results.
- Double-check chip placement before starting.
- Download software only from the official site to avoid fakes.
- Test on a spare chip first if you’re new to programming.
These steps help you avoid mistakes and get comfortable with the tool.
Final Thoughts
The RT809H programmer is a practical tool for chip programming and data recovery. With this guide, you can set it up, use it for basic and ISP tasks, and troubleshoot issues. It’s built to handle a variety of chips and devices, making it a go-to for many users. Follow these steps, keep your software current, and you’ll be ready to tackle any project.
Have questions? Reach out to the support team via the official forum. Happy programming!